How To Use A Wax Seal Stamp - A Beginner’s Guide
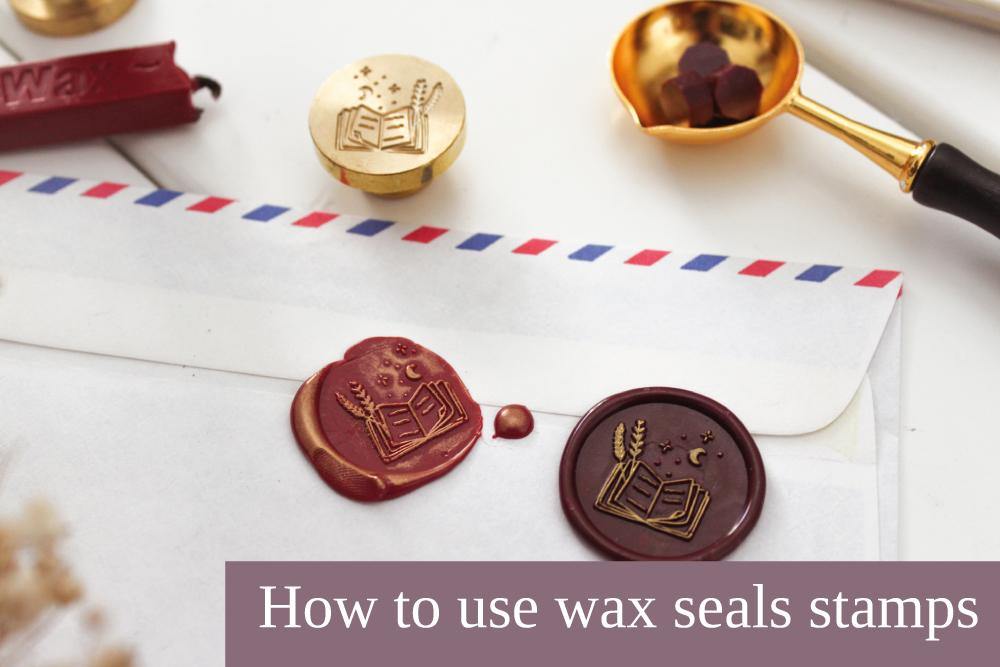
A wax seal stamp is the perfect way to add a unique and elegant touch to your letters. But if you are new to wax sealing it can be tricky to start. In this guide we will show you how to use a wax seal stamp with extra insider tips too!
Introduction
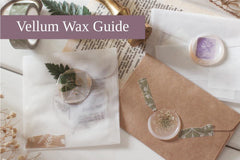
Imagine receiving a handwritten letter sealed with a delicate wax seal stamp. You carefully open the envelope, trying your hardest to keep the stamp impression intact, inside there is a letter from your dearest friend. Wax seals are beautiful and add a personal touch to your letters.
The main concept to make a wax seal is to:
- melt the wax and pour it where you want the seal to be
- press the wax seal stamp into the hot wax
- allow the wax to cool and remove the stamp
There are two main types of wax used for wax sealing: traditional wax and supple wax. Traditional wax is the same type of sealing wax used by Kings and Queens in bygone days. The main downside of this type of wax is that it is brittle and therefore not suitable for mailing.
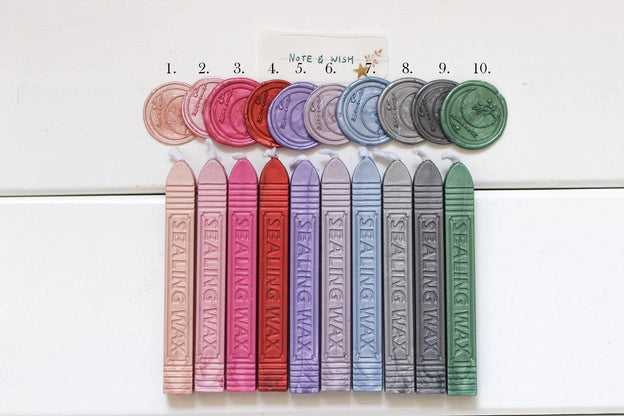
Supple wax is more flexible and can withstand the rough handling of the postage system. It comes in a variety of different forms, such as wax sticks with or without wicks, wax sticks for glue guns and wax sealing beads.
Since we almost always use supple wax, this is what this guide will focus on in particular wicked wax sticks and sealing beads. Later we will add a section for wickless wax sticks and wax for glue guns.
Our Essential Wax Sealing Supplies

Beginner's Tips
- If you want to use the wax seal for later, pour the wax onto a piece of parchment paper, a stone coaster or any heatproof non-stick surface. Once it has cooled you can easily remove it and stick it down for next time.
- To make a wax seal faster, first chill the wax stamp before use. A chilled wax stamp will cool the wax faster and will help prevent the wax from sticking to the stamp.
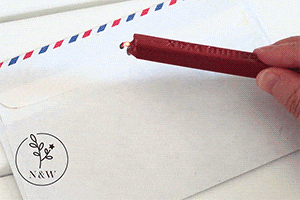
Wicked Sealing Wax Sticks

This is the easiest and most convenient wax to use however it is harder to control. You never know how the wax will drip and this will create a messier but more traditional looking wax seal.
Wicked wax sticks come in all different types of colours. It is the simplest method and the only equipment you need is a lighter or matches.
Method
- Light the wax stick and let the wax drip down into a puddle just smaller than the size of your wax stamp.
- Firmly press your sealing stamp in the wax for a couple of seconds and leave it to harden for about a minute. Gently remove the sealing stamp. If you feel some resistance, leave it to cool for a little longer.
- Admire your beautiful impression!
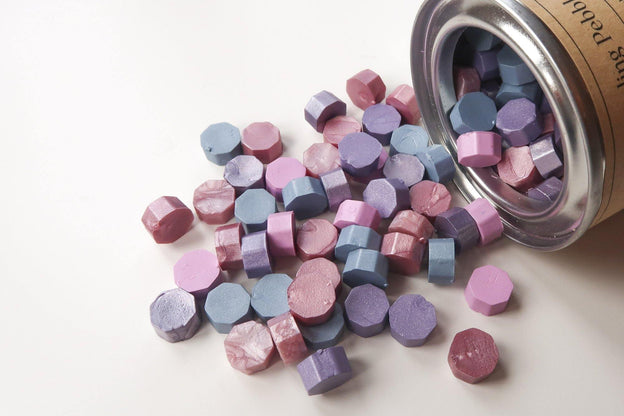
Wax Sealing Beads
This type of wax comes in different shapes, sizes and in a huge variety of colours. These are our personal favourite because with this method you can make marble and multicoloured wax seals! You can get extremely creative using different coloured wax and also different types of wax such as semi-transparent vellum or transparent amber wax.
You will need:
- A candle
- A wax sealing spoon. A teaspoon will also do the trick.
- Something to stir the wax such as a paperclip or cocktail stick.
- Wax melting stove (optional)
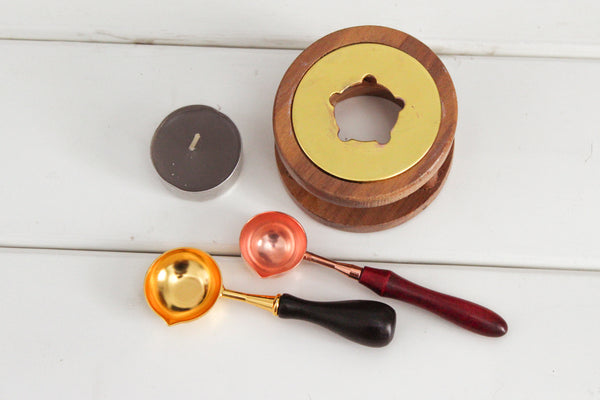
If you are using wax sealing beads regularly we recommend you to invest in a wax melting stove. It is very easy to use and saves so much tine. You can just leave the spoon over the furnace freeing your hands to do something else.
Method
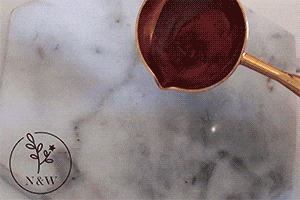
- Depending on the size of your sealing stamp head, see below, put a number of wax beads on your spoon. Put the spoon over a flame.
- If you're using a stove, light a tealight candle and put the stove above it. Place the spoon on top of the stove until the wax has melted.
- Stir the wax. If the wax has started bubbling, then you have over melted it, take it off the flame and let it cool down until the bubbles have subsided.
- Slowly pour the wax into a shape just a little smaller than your stamp head. Firmly press your sealing stamp in the wax for a couple of seconds and leave it to harden for about a minute. Gently remove the sealing stamp. If you feel some resistance, leave it to cool for a little longer.
- Admire your beautiful impression!
Tip: To clean your sealing spoon, when the wax is still hot use a tissue to wipe away the wax.
If you don’t like the impression you can re-melt the wax and use it again.
Number of wax beads (standard size 12mm beads)
-
12mm, 15mm, 20mm stamp head 2-3 beads
-
25mm stamp head 3 beads
Please take care when using the stove as the metal plate and wooden base can get very hot.
Conclusion
With this guide in hand we are confident that you have everything you need to start your wax sealing journey! This is just the beginning. Besides sealing letters, there are so many creative ways to use and to decorate wax seals, which we will share in future posts to come!
Thank you for dropping by!
Jessica & Rebecca
Products used:
 Book of Dreams Wax Seal Stamp |
 Pearlescent Pastel Sealing Sealing Wax with wick |
 Purple Sunrise Mixed Wax Pebbles |
Comments on this post (1)
I recently received my seal from you and it is beautiful. I gave it to my wife for Mother’s day and she loves it. She used it the next day on a letter. A nice touch elegance to say the least. Thank you Note and Wish, well done.
— Earl Klinefelter