Regency Era Letter Folding Tutorial - Jane Austen Style
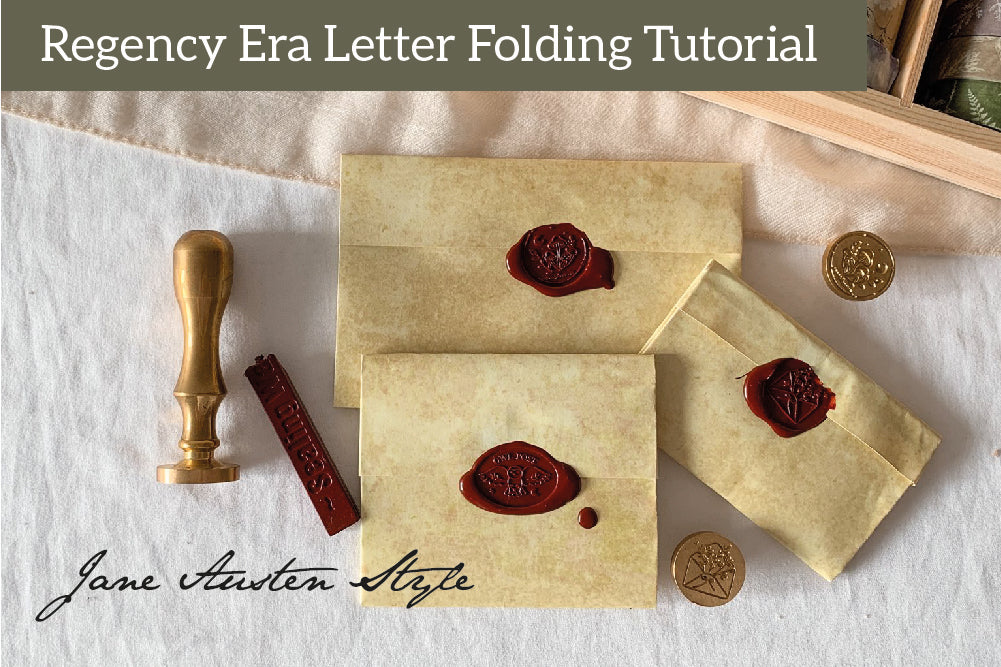
In this tutorial I will be combining my two passions, writing letters and reading! I will be showing 3 different ways of folding a letter in the Regency Period, Jane Austen style.
Introduction - Letter writing in the Regency Period & Jane Austen
In the Regency period (1811 - 1820) it was very expensive to send a letter. The cost of postage could be as much as a day's wages for a working man. The price of postage was dependent on the weight of the letter and the distance travelled. For this reason an envelope was not used as it would have been considered as an additional sheet of paper therefore doubling the cost of postage. In effect, they tried to do everything to keep the letter on just one sheet of paper and they were extremely creative in doing so!
Jane Austen loved writing letters. It is estimated that she wrote about 3000 letters in her lifetime. She loved especially long letters and took pains to keep her letter on just one sheet of paper by writing on the flaps, which were folded inside the letter, or “crossing” her letter, turning the paper 90 degrees and writing directly on top of the already-written page.

A crossed letter to Cassandra from Jane, June 1808
Source: The Morgan Library & Museum
Method 1 - Traditional Regency letter fold technique used by Jane Austen
This simple and practical way to fold a letter is based on "The Young Man's Best Companion and Guide to Useful Knowledge" from 1815. Firstly a sheet of paper is folded in half. The letter was written on the succeeding 3 pages and the final fourth page was left empty to write the address.
Letter folding instructions
- Fold A4 sheet of paper in half and write on the succeeding first, second and third pages. Keep the fourth sheet empty.
- With the first page at the front and the open edge to the right, fold the bottom edge to the center and fold top edge to meet it
- Fold left edge until it is 3cm away from the right edge
- Fold down the right edge. Make sure the fold is a little away from the left edge.
- Tuck the bottom flap into the top flap
- Affix sealing stamp and write address on the back.

Method 2 - Large Regency Letter folding tutorial
This second way of folding a letter produces a larger folded letter.
- Write the letter on an A4 sheet of paper.
- With the letter on the front in a landscape position, fold the left side to the center and fold right side to meet it.
- Fold bottom edge until it is 6 cm away from the top edge.
- Fold down the top edge. Make sure the fold is a little away from the bottom edge.
- Tuck the bottom flap into the top flap
- Affix sealing stamp

Method 3 - Small Regency Letter folding tutorial
This final way of folding a letter produces a smaller folded letter.
- Write the letter on an A4 sheet of paper.
- With the letter on the front in a portrait position, fold the left side to the center and fold right side to meet it.
- Make a fold 8 cm away from the bottom edge and fold the flap down again.
- Fold down the top edge. Make sure the fold is a little away from the bottom edge.
- Tuck the bottom flap into the top flap
- Affix sealing stamp

Further reading
I hope you enjoyed this letter folding tutorial! I personally love adding these little folded letters to my parcels.
If you're interested in the history of regency letters and Jane Austen herself please head over to this wonderful blog, Her Reputation for Accomplishment.


Leave a comment